
Share from the mobile library
Open a photo or video and tap Share to pass it to another app. Use the library’s export choices when you need a report or a group of records.
Choose the original file when its capture proof needs to remain intact. Some receiving apps compress media, so select their file/document option when available.
Export company photos and videos
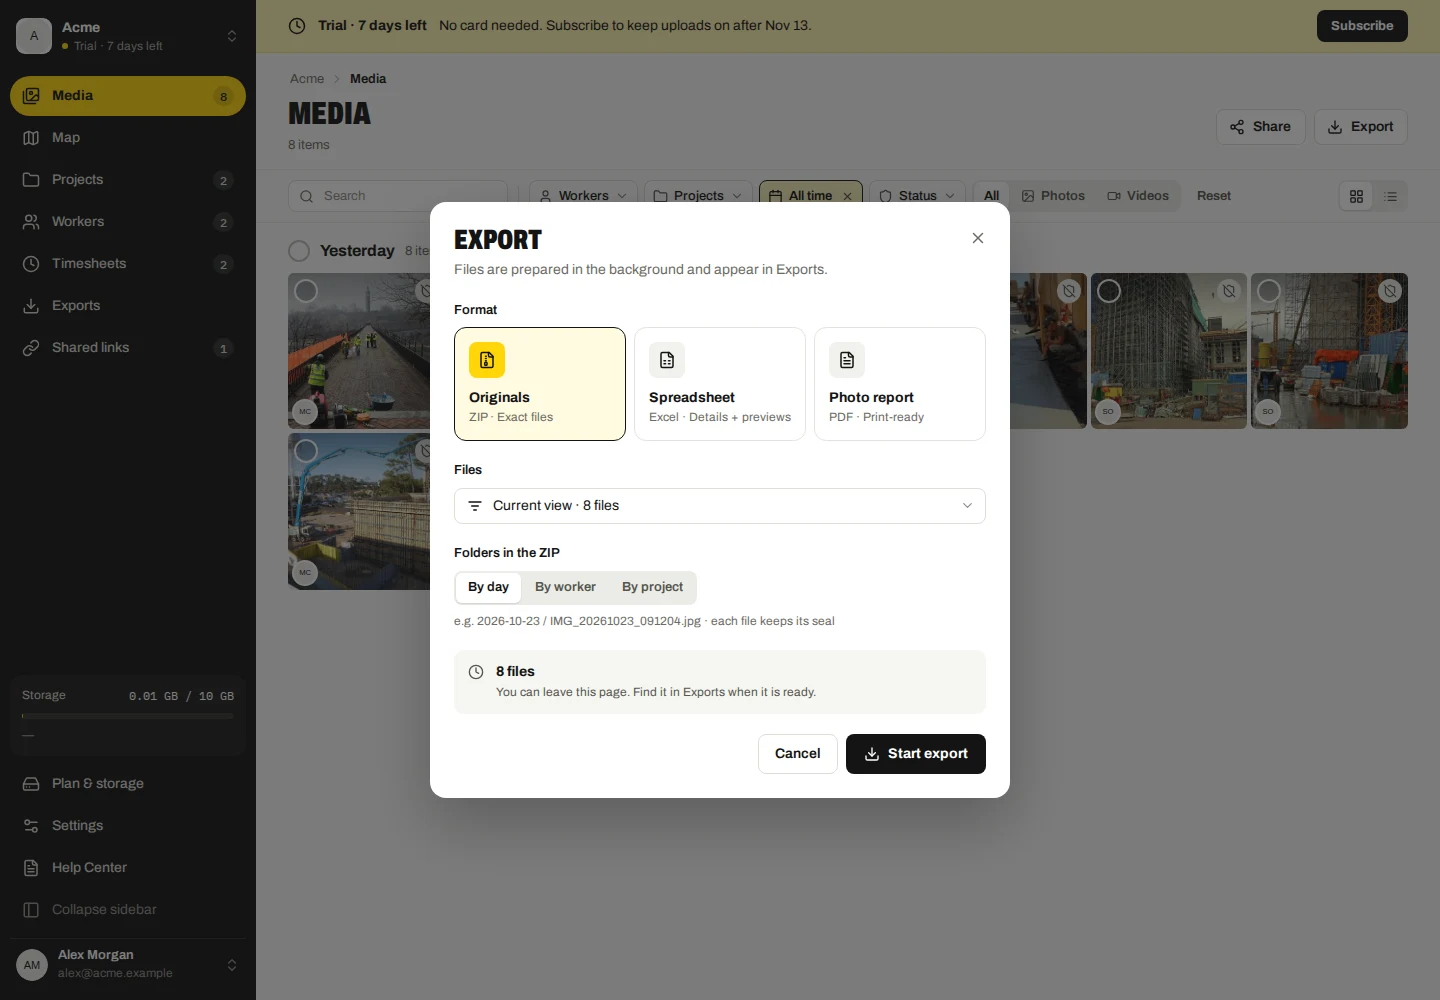
- In Media, select files or set the filters for the records you need.
- Choose Export, then the available scope and format.
- Use ZIP for original files, Excel for a spreadsheet, or PDF for a photo report. Choose report layout and color options when available.
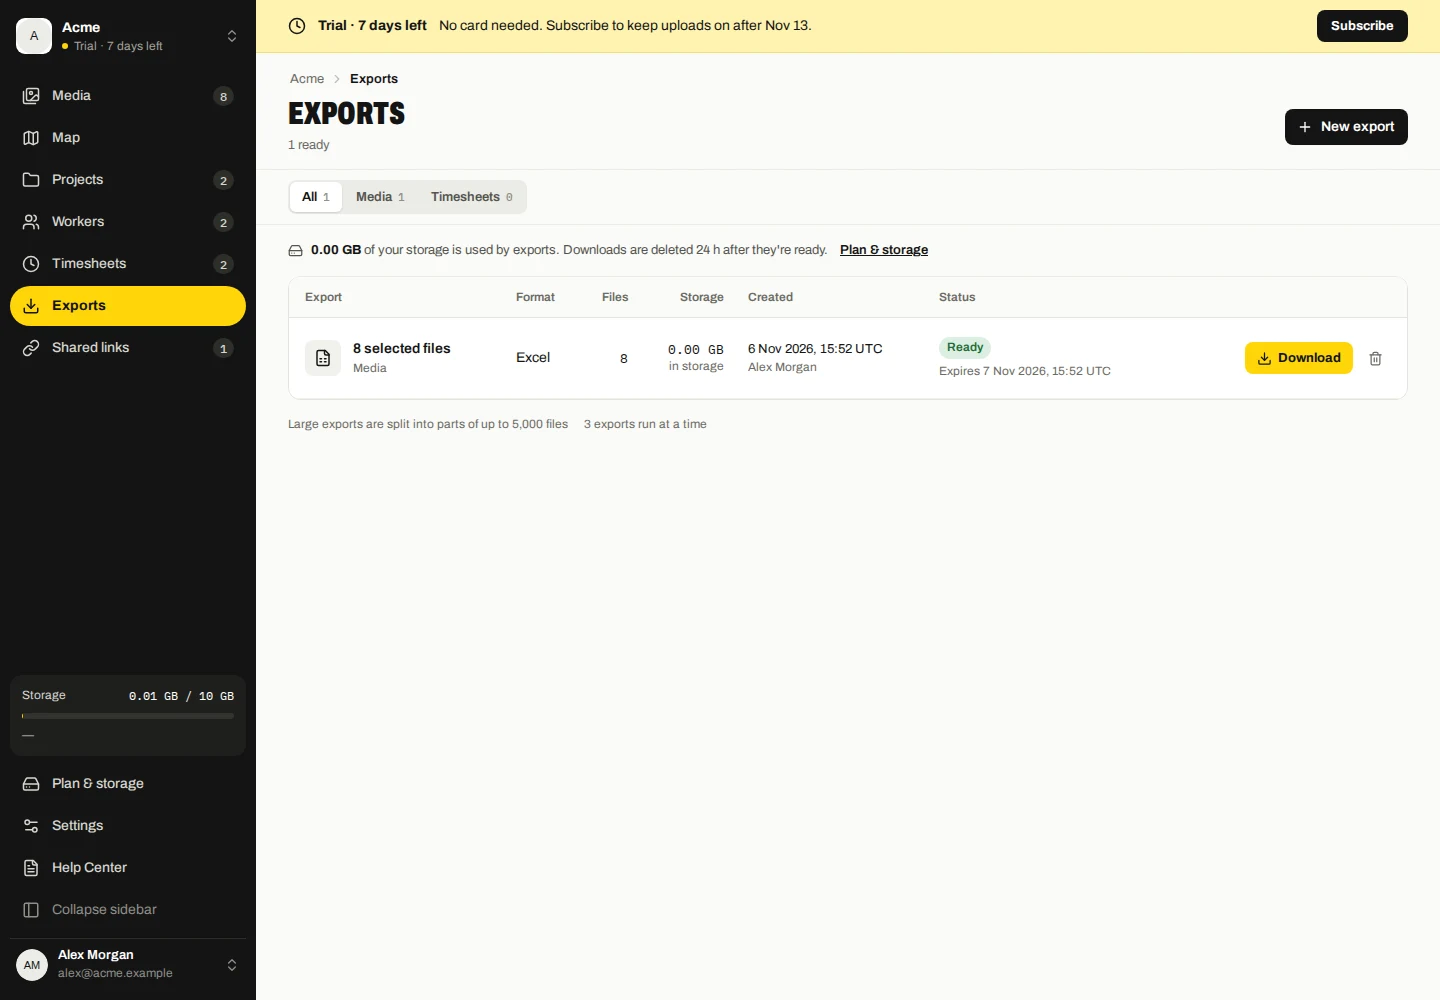
- Start the export. Open Exports to check progress and download the completed file.
Photo PDFs show photos and list videos; they do not play the video. ZIP keeps the original files. Large exports may be split into parts.
Export timesheets
In Timesheets, choose the date/week and records, then Export. Select CSV, Excel or PDF as available. Check whether you are exporting approved records only.
PDF offers its summary/worker layouts. Photo evidence options depend on the chosen format. A report is a snapshot; later corrections do not update a file you already downloaded.
Create a shared collection
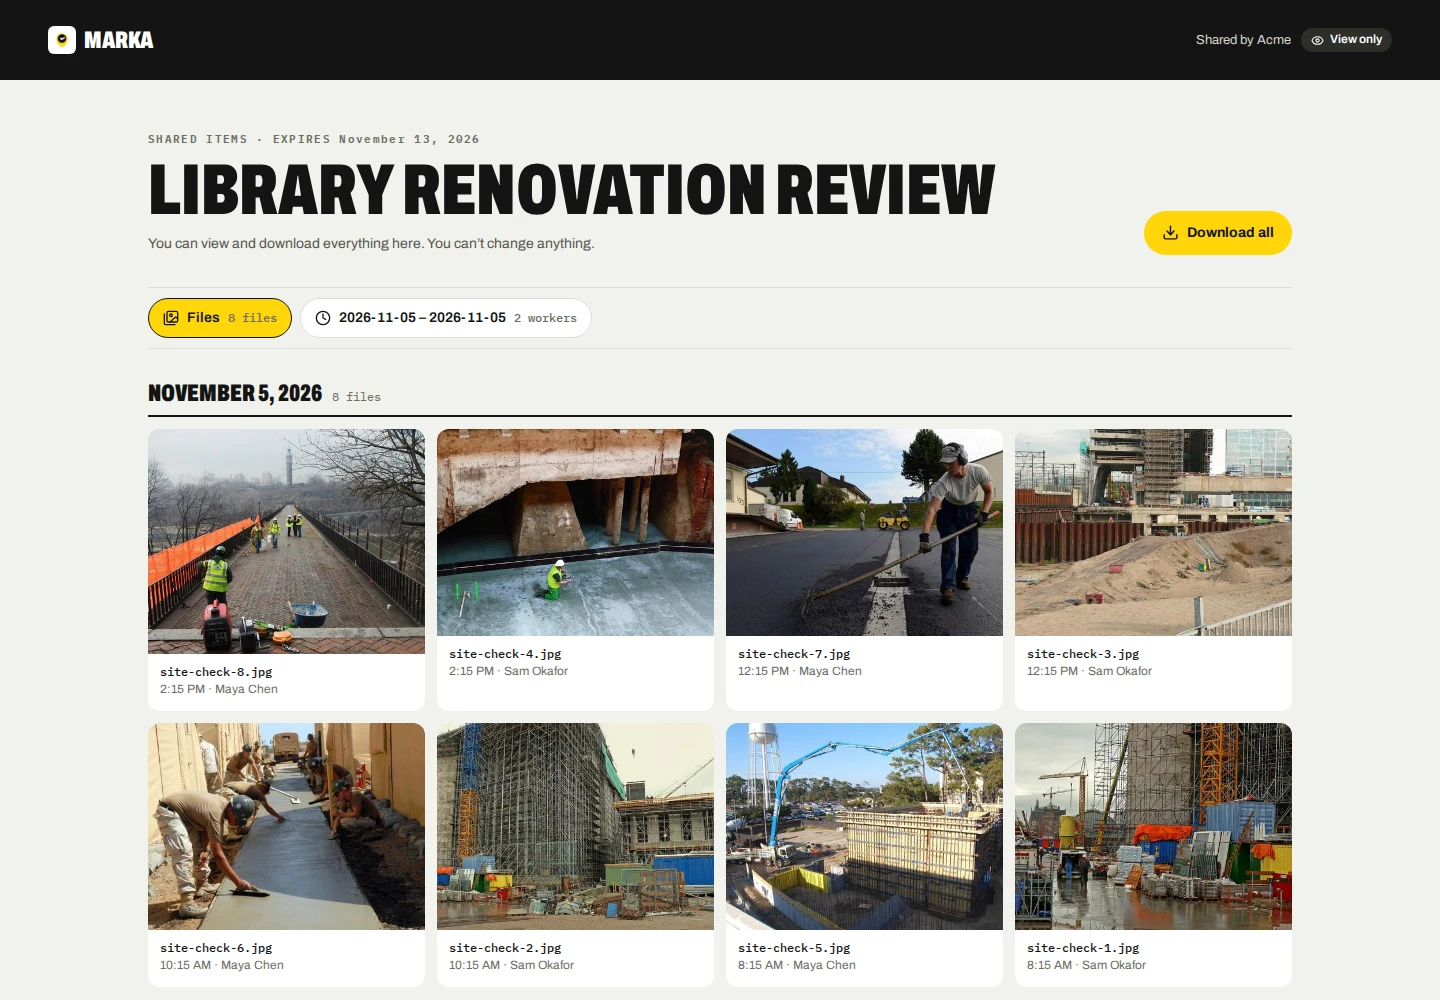
- Select company media, timesheets or a completed report and choose Share.
- Review the selected items, title and optional message. Choose the expiry and whether original downloads are allowed.
- Choose public access or password protection, add recipient email addresses when needed and create the share.
- Open Shared links to check preparation and delivery status before sending the link yourself.
A collection can combine media and timesheets in separate tabs, or share one completed report. Recipients can view the shared collection without a company account. The public viewer offers the downloads allowed for that collection.
Public links can be opened by anyone who has the link. Password protection gives each recipient a separate password, included in each recipient’s share email. Check the recipient addresses before sharing.
Manage recipients and link access
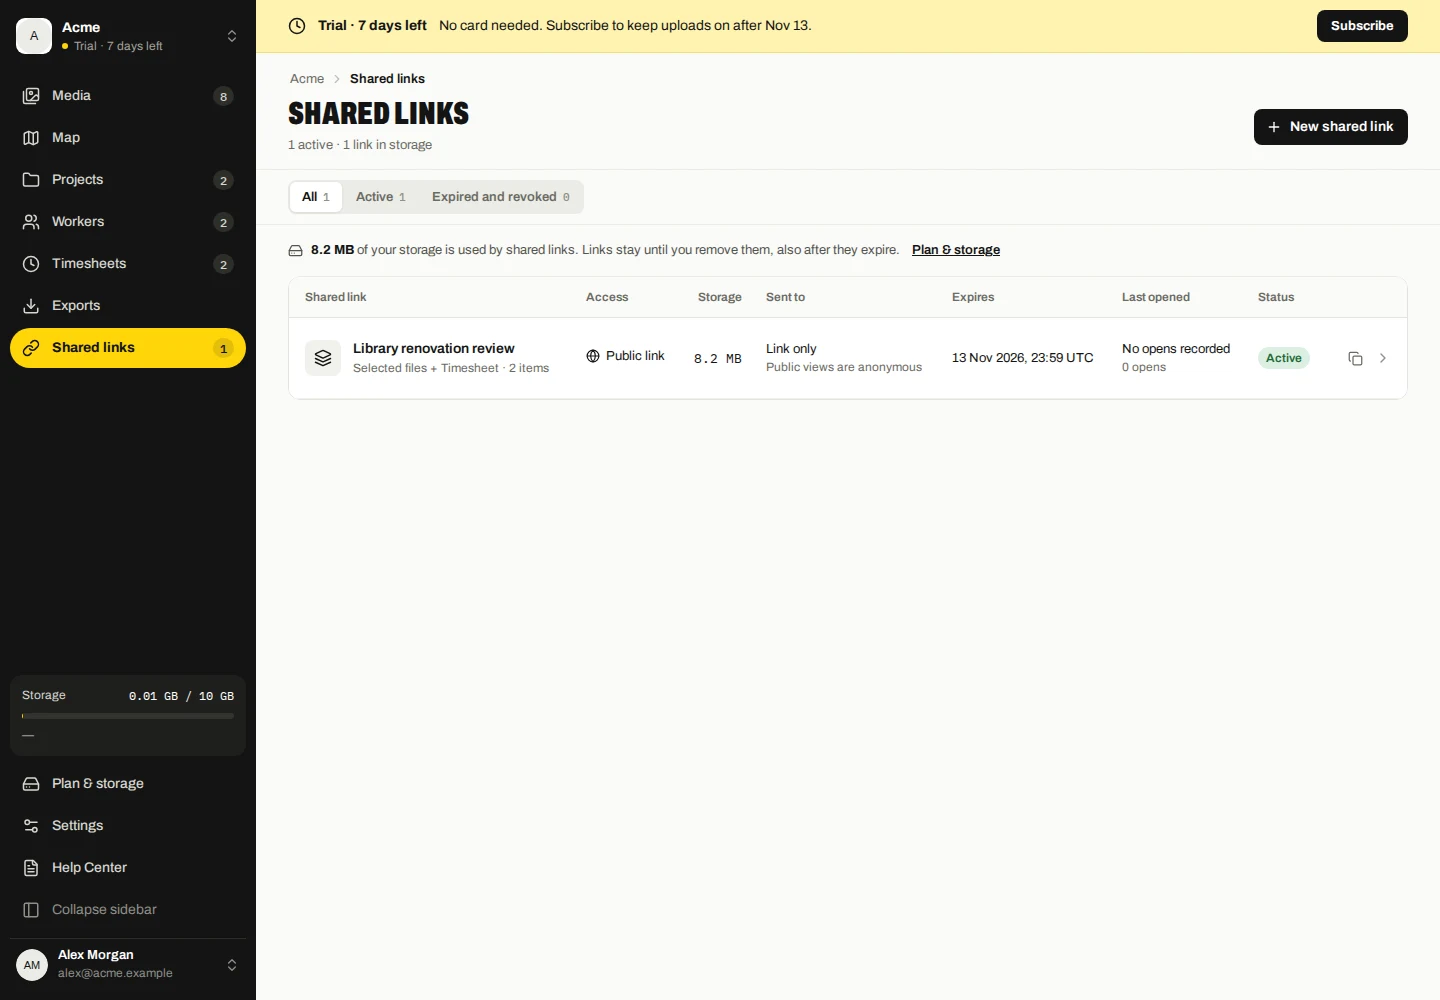
- Open Shared links and choose the collection.
- Review recipients, email delivery and recorded opens. Add or remove recipients, or resend their email when needed.
- Use the available settings to change expiry, access or the message. Use Revoke to stop access to the whole link.
Removing a password-protected recipient disables their access. Resending replaces their password. Removing a recipient from a public link does not prevent them from opening the public link.
Expiry and revocation stop link access; they do not delete the stored collection. Already downloaded copies remain with their recipients.
Download and retention
Every generated export format expires after 24 hours. Export files count toward company storage while stored. Open Exports to check each batch and download its parts before expiry.
Downloaded files and copies sent to recipients are outside Marka’s cloud-deletion controls. Store and share them according to your company’s policy.
Choose layout, folders and language
- Open Export and choose all matching records or the current selection.
- For ZIP, select the offered folder grouping, such as day, worker or project.
- For PDF, choose the available detailed/compact layout and Color photos when needed; grayscale is the default.
- Choose the report language in the export options or Settings → Language & region, then create the export.
Timesheet PDF has summary/worker layouts and optional photo evidence. Format-specific controls are shown only where supported.
Retry, cancel or delete an export
- Open Exports and inspect the job status.
- Use Retry for a failed batch. Use Export again for an expired batch when its saved inputs remain available; create a new export if the inputs changed.
- Use Cancel for a running batch or Delete for a completed batch. Each action applies to every part of that batch; wait for cleanup to finish.
Deleting an export removes its generated files and frees their storage after cleanup. It does not delete source photos, attendance records or separately stored shares.